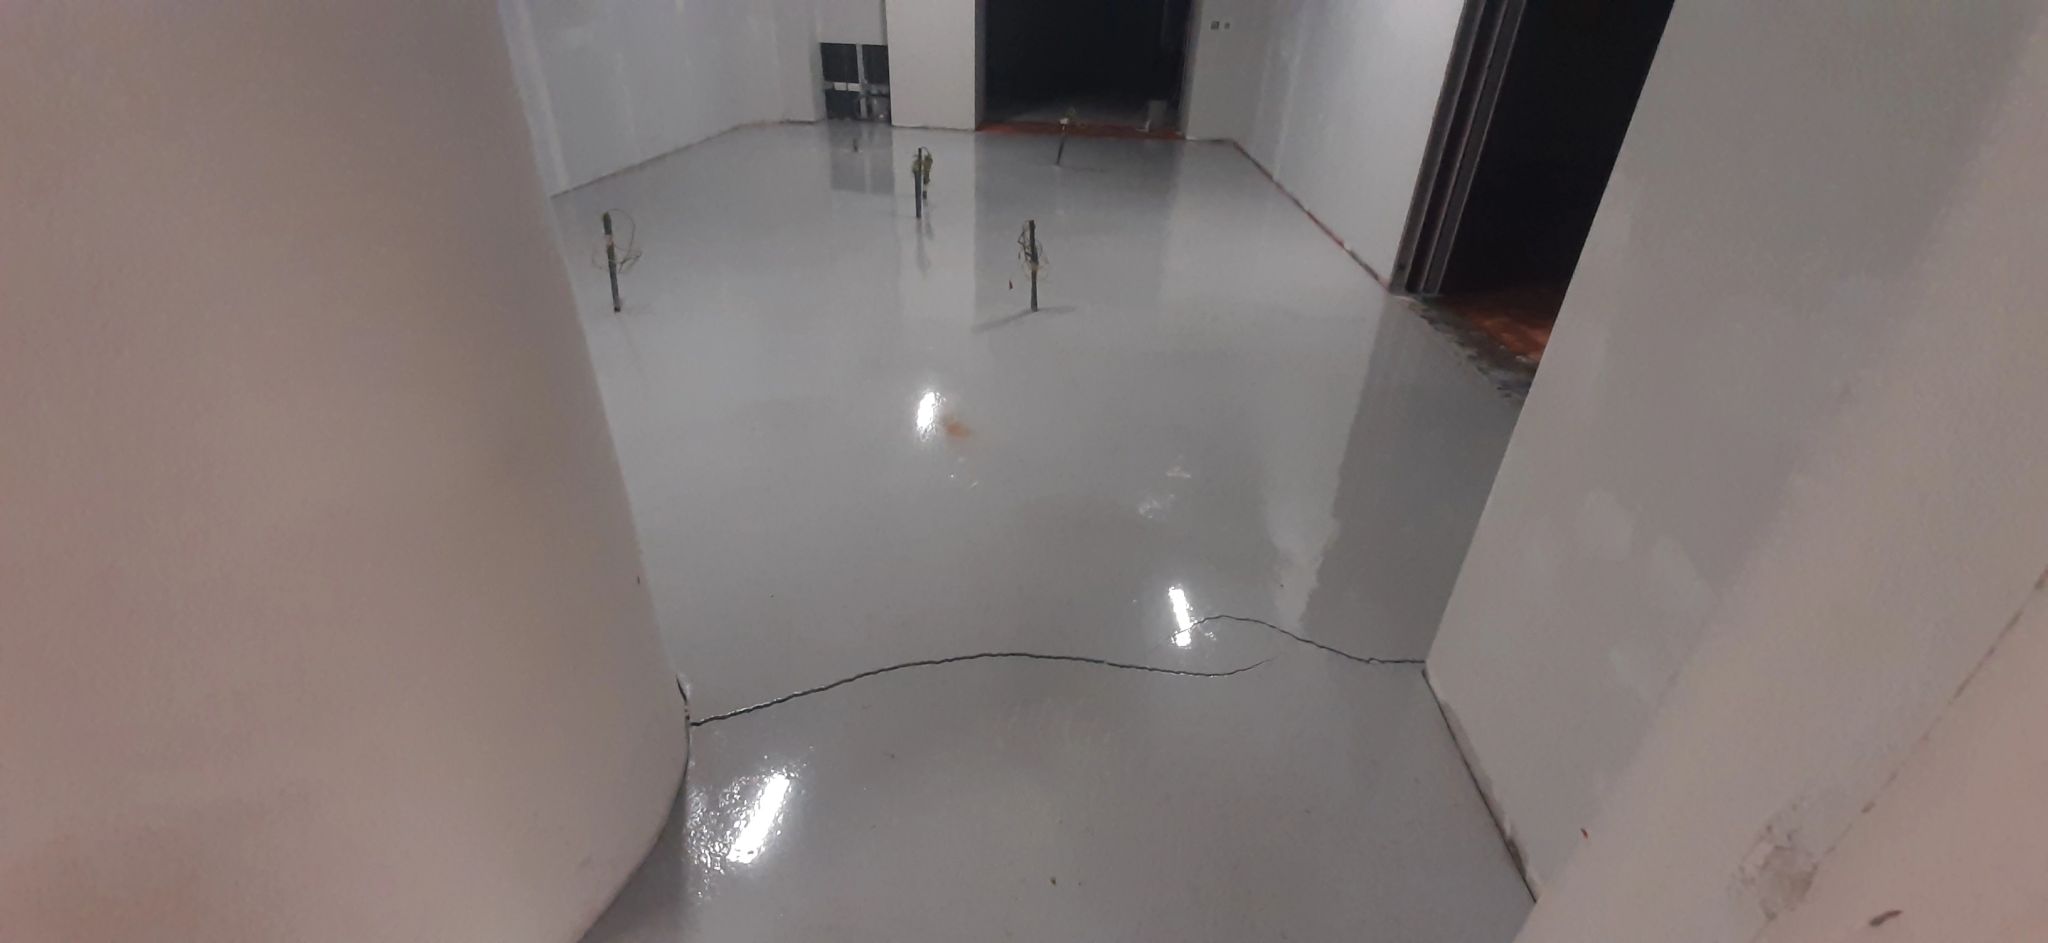
Epoxy Cracks
1. What Causes Epoxy Cracks?
- Epoxy is a durable and strong material, but cracks can form due to various factors, including:
- Thermal Expansion & Contraction – Temperature fluctuations cause expansion and contraction, leading to stress cracks.
- Improper Mixing Ratios – Incorrect resin-to-hardener ratios can make epoxy brittle or too soft, leading to cracking.
- Surface Movement or Flexing – If the surface underneath the epoxy shifts or flexes, the rigid epoxy layer may crack.
- Curing Issues – Applying epoxy in extreme temperatures or humidity can result in improper curing and eventual cracking.
- Impact or Heavy Loads – Dropping heavy objects or placing excessive weight on epoxy surfaces can cause cracks.
2. Different Types of Epoxy Cracks
- Hairline Cracks – Thin surface cracks that may not be structural but can affect aesthetics.
- Spiderweb Cracks – A network of small cracks caused by excessive curing stress.
- Deep Structural Cracks – Large cracks that go through multiple epoxy layers, often due to weak substrate or poor bonding.
3. How to Identify Structural vs. Superficial Epoxy Cracks
- Superficial Cracks – Only affect the topcoat and don’t compromise structural integrity.
- Structural Cracks – Penetrate deeply into the epoxy and may indicate underlying substrate issues.
Preventing Epoxy Cracks
1. Proper Surface Preparation:
- Ensure the substrate is clean, dry, and free from contaminants like oil, dust, or grease.
- Use a primer to improve adhesion and reduce the risk of cracks forming later.
- Check for moisture content in concrete surfaces, as excess moisture can weaken epoxy adhesion.
2. Best Practices for Mixing and Applying Epoxy:
- Follow manufacturer's instructions for the correct resin-to-hardener ratio.
- Mix thoroughly but avoid excessive stirring, which can introduce air bubbles that lead to weak spots.
- Apply in thin, even coats to prevent stress buildup.
3. Controlling Environmental Conditions:
- Apply epoxy in a controlled temperature environment (usually between 60-80°F or as per product guidelines).
- Avoid high humidity levels, which can cause blushing and weak curing.
Repairing Epoxy Cracks
1. DIY Fixes for Small Cracks:
- For hairline cracks, lightly sand the surface, clean it, and apply a thin epoxy seal coat.
- Use CA glue or a clear resin filler for minor cosmetic repairs.
2. Professional Repair Techniques for Large Cracks:
- Regrind and Reapply – Remove the cracked section, sand, and recoat with fresh epoxy.
- Flexible Sealants – In cases where movement causes cracks, use flexible epoxy fillers to allow slight movement.
- Injection Method – For deep cracks, inject epoxy resin into the crack before refinishing the surface.
3. Best Epoxy Crack Fillers & Repair Products:
- Epoxy Putty – Ideal for filling small cracks and holes before applying a new topcoat.
- Flexible Epoxy Sealants – Prevent re-cracking in areas with slight movement.
- Self-Leveling Epoxy – Helps smooth out imperfections while reinforcing the surface.
Preventative Measures
• Use high-quality epoxy materials with proper mix ratios.
• Follow the manufacturer’s guidelines for curing temperature and time.
• Prepare the surface thoroughly before application.
• Apply epoxy in thin layers to avoid excessive heat buildup.
• Protect the epoxy from UV exposure and moisture.
• Ensure the structure supporting the epoxy is stable and rigid.
Epoxy is strong, but cracks can form due to thermal expansion, improper mixing, surface movement, curing issues, or heavy loads. Types include hairline, spiderweb, and structural cracks. Prevent them with proper prep, mixing, and environmental control.


No comments:
Post a Comment
If you have any doubts, Please let me know.